


Steel Radiator Connection Planning Before Ordering: Choosing the Right Layout
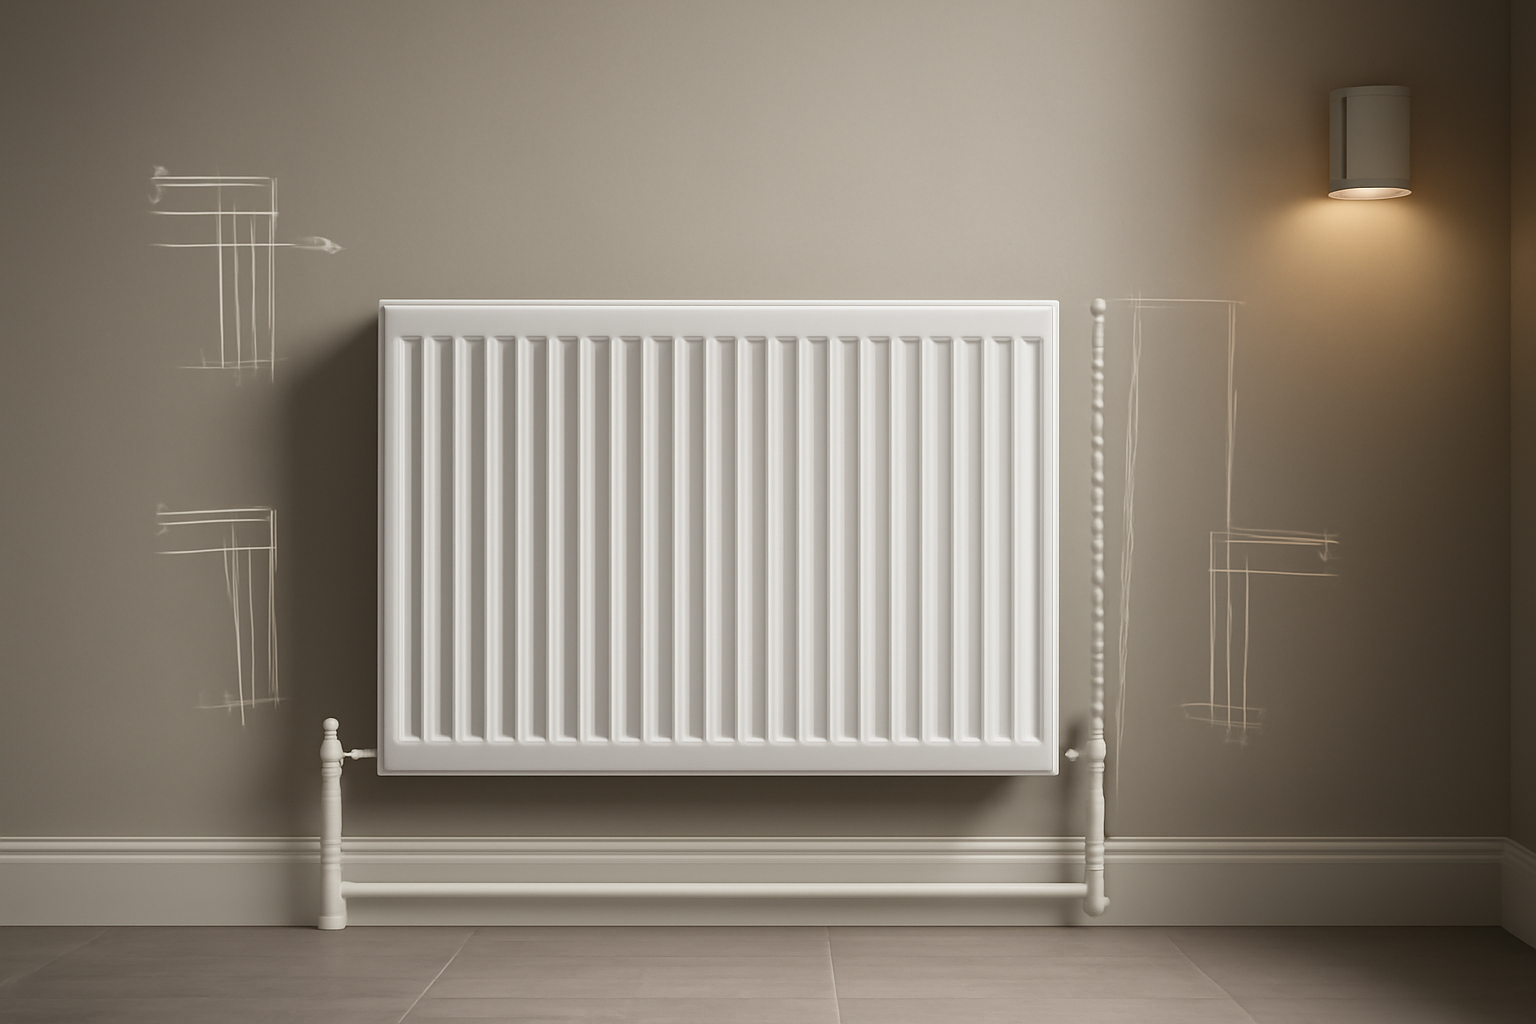
Steel Radiator Connection Planning Before Ordering
Choosing a radiator is not only about width, height, colour or heat output. The connection layout can determine whether installation is straightforward or whether the pipework needs to be altered, extended or concealed. Before ordering a steel radiator, it is essential to understand how its inlet and return connections will align with the existing heating system.
The main steel radiator connection types include side-connected, bottom-connected, centre-tap and flow-through layouts. Each can work well when it matches the pipework, valve set and available wall space. The wrong choice, however, may create problems with radiator valve position, pipe alignment, accessibility and finished appearance.
This guide explains how the main connection layouts work, what to measure before buying and how to choose a radiator that supports a trouble-free installation.
Why radiator connection planning matters
Heating pipework is rarely positioned exactly the same way in every room. Pipes may rise from the floor, enter through the wall, run horizontally along the skirting board or connect from one side of the radiator. Some systems also use pipe centres that were selected for a previous radiator, meaning a replacement model must suit the existing dimensions.
Connection planning matters for four main reasons:
- Pipe alignment: The radiator connections must meet the flow and return pipes without excessive offsets or awkward bends.
- Valve accessibility: Thermostatic and lockshield valves need enough clearance for installation, adjustment and future maintenance.
- Visual finish: Correctly positioned connections help keep pipework neat and reduce the need for visible extensions.
- System performance: The flow and return must be connected correctly so water circulates through the radiator as intended.
A radiator can have the correct physical size and still be unsuitable if its connection arrangement does not match the room.
Understanding the main steel radiator connection types
1. Side-connected steel radiator
A side-connected steel radiator has its flow and return connections positioned at the sides, commonly one at the upper side and one at the lower side. In many installations, both connections are on the same side, although the exact arrangement depends on the radiator design and heating system.
This is one of the most familiar layouts for domestic heating systems. It can be a practical replacement choice when existing pipes already rise from the floor or enter the wall near one side of the radiator.
Advantages:
- Often suitable for conventional two-pipe heating systems.
- Can match existing side pipe positions with minimal alteration.
- Allows the installer to keep the flow and return on a familiar configuration.
Planning points: Confirm the required flow direction, the distance from the radiator edge to each connection and whether the valves will project into a doorway, furniture space or curtain line. A side-connected steel radiator may also require more visible pipework if the existing pipes are not positioned near the selected connection side.
2. Bottom-connected steel radiator
A bottom-connected steel radiator has its connection points located on the lower edge or underside of the radiator. This arrangement is frequently selected for modern interiors because the pipework can rise neatly from the floor or remain visually discreet beneath the radiator.
Bottom connections are not all identical. They may be positioned near the sides, closer to the centre or in a configuration designed for a specific valve set. Always check the technical drawing for the exact connection centres rather than assuming that every bottom-connected model uses the same spacing.
Advantages:
- Can create a clean, minimal appearance.
- May suit new-build or renovated floors where pipes are routed from below.
- Can simplify concealed pipework when the connection positions are planned early.
Planning points: Measure the finished floor level, skirting-board height and the vertical distance from the floor to the radiator connections. If the radiator will be installed above a thick floor covering or a raised platform, the final connection height may differ from the current measurement.
3. Centre-tap radiator
A centre-tap radiator has its main connection points located near the centre of the radiator, usually along the lower edge. This layout can be useful when the flow and return pipes are already positioned at the centre of the wall or floor area.
Centre-tap radiators are often chosen for a balanced appearance because the pipework and valve arrangement can sit centrally beneath the radiator. They may also be helpful where a radiator is replacing another model with central pipe connections.
Advantages:
- Supports a symmetrical installation with central pipework.
- Can work well beneath windows or in visually prominent locations.
- May reduce the need to route pipes from one side of the radiator.
Planning points: Check whether the centre connections are dedicated flow and return ports, whether a matching valve set is required and how much clearance is needed around the central valve assembly. The term “centre-tap” does not by itself confirm the exact internal water path, so the manufacturer’s connection diagram should always be reviewed before ordering.
4. Flow-through radiator connection
A flow-through radiator connection uses an arrangement in which water enters through one connection and leaves through another, with the internal design guiding circulation across the radiator. The inlet and outlet may be positioned on opposite sides or in another configuration specified by the manufacturer.
This layout is especially important when the radiator has connection points that appear interchangeable but are not intended to be used in every possible combination. Correct flow and return orientation may be necessary for the radiator to operate as designed.
Advantages:
- Can support effective water distribution across the radiator.
- May suit particular pipe routes or larger radiator formats.
- Can provide flexibility when connections are positioned on different sides.
Planning points: Do not rely only on the visual position of the connections. Confirm which port is intended for flow, which is for return and whether any unused ports need to be fitted with a plug or vent. If the system uses a thermostatic valve, its position should also be checked against the specified flow direction.
Comparison of radiator pipe connection layouts
| Connection layout | Typical pipe position | Best suited to | Main planning priority |
|---|---|---|---|
| Side-connected | Side or side-edge of the radiator | Existing side-entry pipework and conventional systems | Valve clearance and side-to-side pipe alignment |
| Bottom-connected | Lower edge or underside | Floor-rising or concealed pipework | Finished floor height and exact connection centres |
| Centre-tap | Central lower section | Central pipe positions and symmetrical installations | Central spacing and compatible valve set |
| Flow-through | According to the specified inlet and outlet arrangement | Systems requiring a defined flow path | Correct flow direction and port identification |
How to take radiator connection measurements
Accurate measurements are the foundation of a successful order. Measure the existing pipework and wall area before choosing a radiator, not after.
Measure the available radiator space
Record the maximum width, height and depth available. Allow space for valves, pipe bends, skirting boards, curtains, furniture and cleaning. The nominal radiator size is not always the same as the total installed footprint, especially when valves project beyond the radiator body.
Measure pipe centres
Pipe centres are the distance between the central lines of the flow and return pipes. Depending on the layout, this may be measured horizontally, vertically or from the wall to the radiator connection centre. Use the same reference points shown on the radiator’s technical drawing.
For a side-connected radiator, measure the horizontal distance from the wall, corner or radiator edge to each pipe. For a bottom-connected or centre-tap radiator, measure the distance between the finished floor and the pipe connection centres. Also record the distance between the two pipes.
Measure wall projection and pipe depth
Determine how far the existing pipes project from the wall or floor. This helps establish whether standard valves will fit or whether an offset, extension or angled connection may be needed. Do not forget to account for wall tiles, plaster, panelling or other finishes that may not yet be installed.
Check the valve position
Radiator valve position affects both function and appearance. Confirm whether the thermostatic valve will be on the left or right, whether the valve head will be easy to reach and whether it will be affected by a curtain, cabinet or door.
For some radiators, the valve position is flexible. For others, the specified flow direction or connection layout may determine which side should receive the thermostatic valve. If there is any uncertainty, follow the radiator connection diagram rather than assuming the valve can be fitted anywhere.
Choosing the right layout for different installation conditions
When replacing an existing radiator
The simplest replacement is usually one that matches the existing connection layout and pipe centres. A different layout may still be possible, but it could require new pipework, additional fittings or making good around the wall and floor.
Before ordering, remove or carefully inspect the existing radiator connection points if safe to do so. Measure from fixed features such as the wall, floor or skirting board, rather than relying on the old radiator alone.
When renovating or installing new pipework
If the floor or wall is open, choose the radiator layout before the pipes are installed. Bottom-connected and centre-tap radiators can produce a particularly neat finish when the pipe routes are designed around the radiator drawing from the beginning.
Leave enough tolerance for final floor finishes and wall coverings. Pipework installed too early or too close to the finished surface can create alignment problems later.
For bathrooms and compact rooms
Compact rooms often have limited clearance around the radiator. Check the total depth of the radiator, valves and pipework, particularly beside a shower enclosure, vanity unit or door swing. A connection layout that looks suitable on paper may become impractical if the valve head cannot be turned or removed.
Connection planning and heat output
Connection layout is important, but it is only one part of radiator selection. Heat output depends on the radiator’s design, dimensions, water temperature, flow rate and the test conditions used to publish the rated output. A radiator with a convenient connection layout is not automatically the correct heating size for the room.
When comparing models, review the stated output under the relevant testing standard and temperature regime. If your heating system operates at lower water temperatures, such as a heat-pump system, the actual output may be lower than a rating based on traditional high-temperature conditions.
Ask a qualified heating professional to check the required output and system compatibility when replacing or resizing radiators.
What about stainless steel 304?
Stainless steel 304 is an austenitic stainless steel containing chromium and nickel. Its chromium content supports the formation of a passive oxide layer, helping the material resist corrosion in many normal indoor environments. It is not the same material as ordinary mild steel, and it should not be described simply as “steel” without clarification when material performance is being compared.
However, stainless steel 304 is not immune to every form of corrosion. Exposure to aggressive chemicals, chlorides, poor water quality or unsuitable installation conditions can affect long-term performance. Material selection should therefore be considered alongside the heating system, water chemistry, operating conditions and manufacturer recommendations.
Practical buying checklist
- Identify whether the existing system uses side, bottom, centre-tap or flow-through connections.
- Measure the available radiator width, height and depth.
- Record the exact pipe centres and connection heights.
- Check the finished floor and wall levels, including tiles, flooring and skirting boards.
- Confirm the required flow and return orientation.
- Check which valve set is compatible with the radiator connection layout.
- Make sure the valve heads will remain accessible after installation.
- Compare heat output using the correct water temperature and test conditions.
- Review the radiator drawing before placing the order.
- Ask the installer to confirm measurements where pipework is concealed or difficult to access.
Frequently asked questions
Can I replace a side-connected radiator with a bottom-connected model?
Yes, but it may require pipework alterations, extensions or new valves. The new radiator’s connection centres must be compared with the existing pipe positions before ordering.
Are all bottom radiator connections in the same position?
No. Bottom connection positions vary between radiator designs. Check the manufacturer’s dimensional drawing for the exact distance between connections and their position relative to the radiator edges.
What is the difference between a centre-tap and a bottom-connected radiator?
A centre-tap radiator is a type of bottom-connected arrangement in which the primary connections are positioned near the centre. A bottom-connected radiator may instead have connections closer to one or both sides.
Does a flow-through radiator need a specific flow direction?
Often, yes. The intended inlet and outlet should be confirmed from the radiator documentation. Reversing the connections may affect operation, valve performance or water distribution.
Where should the thermostatic radiator valve be positioned?
The valve should be installed where it can sense room air accurately and remain accessible. Avoid placing it behind curtains, inside cabinets or directly beside a strong heat source. Follow the radiator and valve instructions regarding flow direction.
How much measurement tolerance should I allow?
There is no universal tolerance because it depends on the connection design, valve type and pipework. Measure accurately and allow the installer to confirm the practical fit before finalising the order.
Conclusion
Selecting among steel radiator connection types is an essential part of planning a reliable heating installation. Side-connected, bottom-connected, centre-tap and flow-through layouts can all provide excellent results when their connection centres, flow direction, valve position and available space are correctly matched.
Take measurements from fixed reference points, check the radiator drawing and consider the finished installation rather than the radiator body alone. A few minutes of careful planning before ordering can prevent unnecessary pipework changes, awkward valve positions and avoidable installation delays.
Contact Us
For product information and help choosing the right solution, contact Isti Radiator.