


Decorative Radiator Installation Mistakes That Reduce Heat Output and Ruin the Design
Decorative Radiator Installation Mistakes That Reduce Heat Output and Ruin the Design
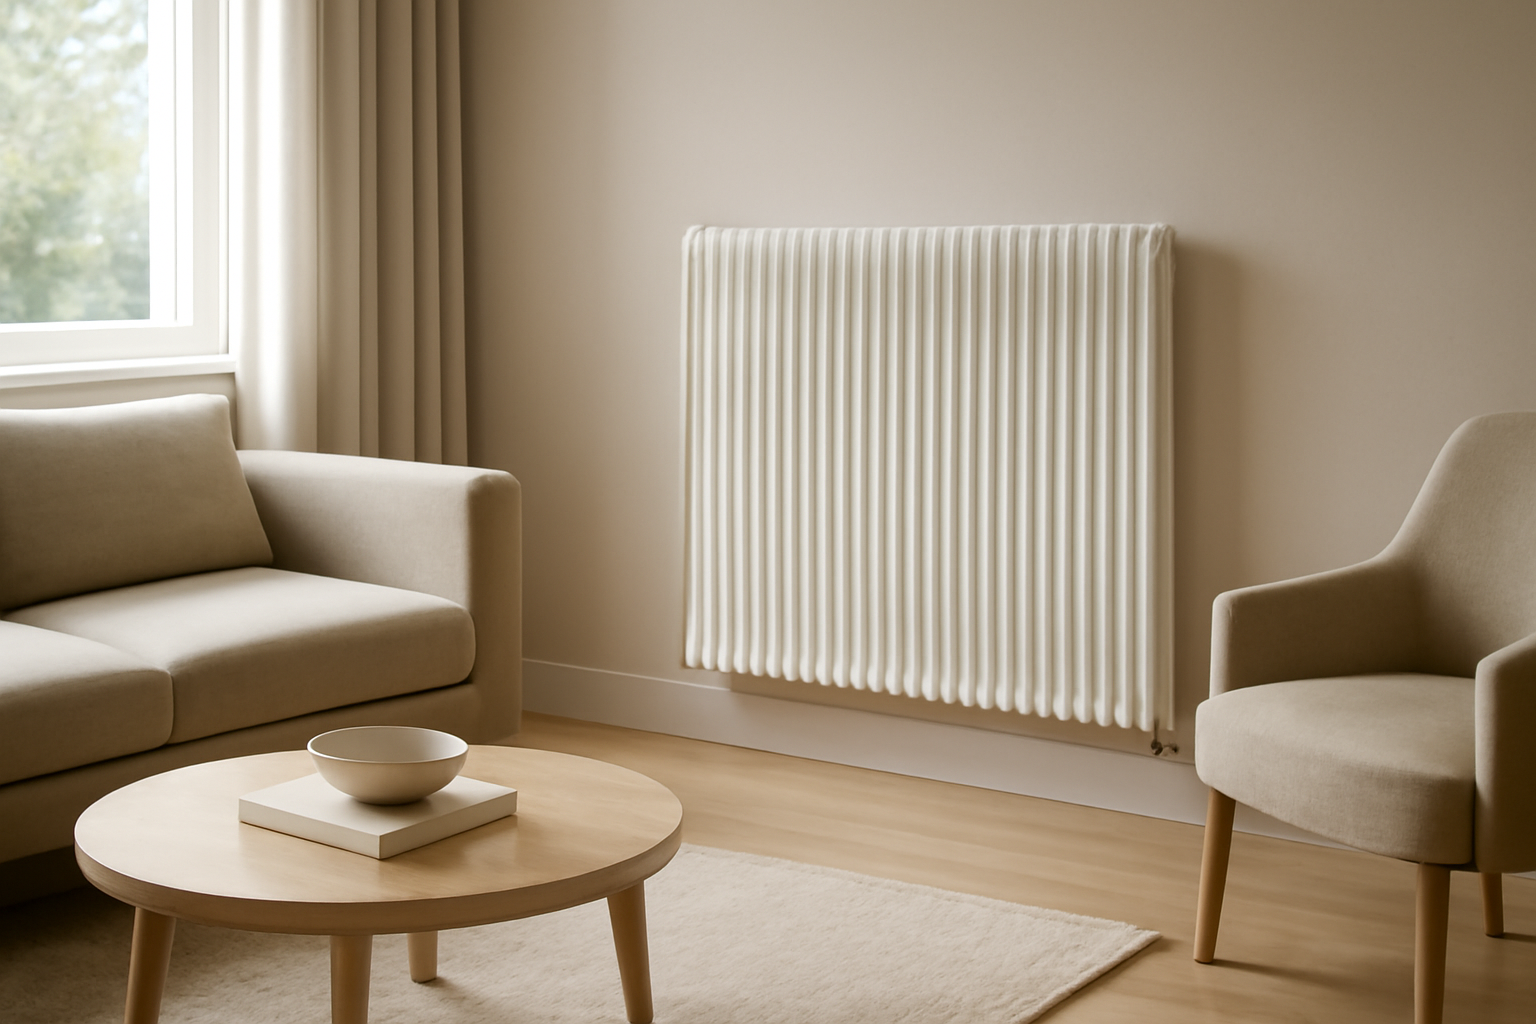
A decorative radiator can become a defining feature of a room. Its shape, finish and proportions may complement the architecture, furniture and overall interior scheme far better than a standard panel radiator. However, even the most attractive model can underperform or look out of place if the installation is planned as an afterthought.
Good decorative radiator installation is about more than connecting pipework and fixing the radiator to a wall. Position, clearance, airflow, wall strength, valve selection and visual alignment all affect the final result. A mistake in any of these areas may reduce usable heat output, create uneven room temperatures, damage the wall or make a premium radiator look poorly fitted.
This guide explains the most common installation mistakes and shows how to avoid them before drilling, ordering valves or committing to a final layout.
1. Choosing Decorative Radiator Placement Based Only on Appearance
One of the most common mistakes is selecting a position because it looks attractive in a drawing or showroom photograph without considering how heat will move through the room. A decorative radiator should support the room’s heating plan, not simply occupy the most visible wall.
Traditionally, radiators are installed near areas of heat loss, such as external walls or beneath windows. Modern glazing and insulation can change this logic, but the principle remains useful: the radiator should be placed where it can distribute warmth effectively and where cooler air will naturally circulate toward it.
Before deciding on decorative radiator placement, check:
- Whether the wall is external or internal.
- The location of windows, doors and major draught paths.
- The position of existing heating pipes or the feasibility of rerouting them.
- Whether furniture will remain clear of the radiator.
- How the radiator will look from the main sightlines in the room.
- Whether the door, curtains or cupboards will interfere with operation.
A visually central position is not always the best thermal position. In many rooms, a slightly less obvious location will provide better circulation and a more balanced appearance.
2. Installing the Radiator Too Close to the Floor or Wall
Clearance is essential for both performance and appearance. If the radiator is mounted too close to the floor, air cannot enter and rise efficiently through the heating surface. If it is too close to the wall, convection can be restricted and the wall may receive excessive heat.
The correct radiator clearance from wall and floor depends on the radiator’s design, mounting system and manufacturer instructions. As a general planning principle, leave enough space beneath the radiator for air to enter, enough room behind it for circulation and cleaning, and enough clearance above it for warm air to rise without immediately meeting a shelf or obstruction.
Do not rely on a fixed measurement copied from another installation. A vertical designer radiator, a horizontal tubular model and a decorative panel radiator may require different spacing. The mounting brackets, valve connections and skirting board also influence the finished position.
Why incorrect clearance causes problems
- Restricted airflow can reduce the effective heat released into the room.
- Insufficient wall clearance can make cleaning difficult.
- Uneven spacing can make a carefully designed radiator appear crooked or cramped.
- Excessive heat near painted surfaces may contribute to discolouration over time.
- Valves and pipe connections may become difficult to access.
Mark the radiator’s full outline, bracket positions and valve locations on the wall before installation. This simple dry-run often reveals clearance problems before they become expensive to correct.
3. Blocking Radiator Airflow With Furniture or Curtains
A decorative radiator cannot heat a room efficiently if warm air is trapped behind a sofa, cabinet, deep window covering or decorative screen. This is especially important with convection-based designs, where air must move continuously through or around the radiator.
Radiator airflow and furniture should be considered together during the room layout stage. Avoid placing large furniture directly in front of the radiator. If a sofa must sit nearby, allow space for air to rise and move into the room. Long curtains should not cover the radiator when it is operating, because they can redirect heat toward the window or wall instead of the occupied space.
| Obstruction | Likely effect | Better approach |
|---|---|---|
| Large sofa directly in front | Warm air becomes trapped behind the furniture | Move the sofa forward or choose another wall |
| Full-length curtains over the radiator | Heat is redirected toward the window | Use shorter curtains or keep fabric clear when heating |
| Deep shelf immediately above | Rising warm air is deflected or trapped | Maintain suitable vertical clearance |
| Decorative cover or grille | Convection and radiant heat may be restricted | Use only a properly ventilated, heat-compatible design |
Radiator covers are a frequent design mistake. A cover may hide the radiator, but it can also reduce heat transfer and make the heating system work harder. If concealment is important, select a radiator whose design is intended to be visible rather than enclosing a high-output unit in a poorly ventilated cabinet.
4. Ignoring Wall Strength and Mounting Requirements
A designer radiator may be heavier than it appears, particularly after it is filled with water. Fixing it into plasterboard, hollow block or a weak partition without suitable reinforcement can lead to movement, cracked finishes or complete bracket failure.
Radiator mounting and wall support must be assessed before the product is ordered. Identify the wall construction and select fixings designed for that substrate. Where possible, brackets should be secured into structural studs, masonry or a properly installed support frame. Heavy radiators may require additional supports or a different mounting arrangement from lightweight models.
Never assume that the existing fixing points are suitable simply because an old radiator was installed in the same place. A decorative radiator may have a different weight distribution, bracket spacing and centre of gravity.
Important mounting checks
- Confirm the filled weight, not only the dry weight.
- Check the number, position and load rating of the brackets.
- Use fixings appropriate for masonry, stud walls or specialist board systems.
- Make sure the wall can resist both vertical load and forward pulling forces.
- Verify that the radiator is level before tightening all connections.
If the wall is uncertain, obtain an assessment from a qualified installer rather than improvising with oversized screws or unsuitable plugs.
5. Ordering the Wrong Heat Output for the Room
Decorative appearance should never replace heat-loss planning. A radiator that is too small may look perfectly proportioned but fail to warm the room. A radiator that is excessively large may dominate the wall, restrict furniture placement and operate inefficiently if the system is not balanced correctly.
Heat output depends on the radiator’s design, dimensions, water temperature, flow conditions and the test standard or test conditions used. Therefore, two radiators with similar external dimensions may not provide the same output. Always compare product output using consistent published conditions and confirm that the figure is appropriate for the heating system.
Room heat loss is influenced by glazing, insulation, ceiling height, external walls, floor construction, room use and the local climate. A qualified heating professional can calculate the required output more reliably than a simple room-size estimate.
When buying, ask for:
- The stated heat output and the conditions under which it was measured.
- The radiator dimensions, water capacity and connection positions.
- Compatibility with your boiler, heat pump or central heating system.
- Guidance on whether one radiator or multiple units are more suitable.
6. Fitting Valves That Clash With the Design or Restrict Access
Valves are functional components, but they are also visible parts of a decorative radiator installation. Choosing the wrong size, finish or orientation can undermine the design. More importantly, a valve that is difficult to reach may make temperature control and maintenance unnecessarily difficult.
Check whether the radiator requires angled, straight or corner valves. The choice depends on the pipe route, connection orientation and distance between the wall and radiator. Confirm thread compatibility and ensure the valve body will not collide with skirting boards, flooring, furniture or the radiator itself.
For a clean appearance, match valve finishes to the radiator where appropriate, but do not choose appearance over compatibility. A high-quality finish cannot compensate for a valve that is incorrectly sized or badly positioned.
7. Failing to Plan Pipework Before the Final Fixing
Exposed pipework can either complement a decorative radiator or make the whole installation look unfinished. Pipe positions should be planned before the radiator is mounted, especially when the design depends on symmetrical connections or concealed pipework.
Common pipework mistakes include measuring from the wrong reference point, ignoring the skirting board, placing pipes too close to the wall and assuming that a replacement radiator will use the same connection centres as the previous one.
Prepare a dimensional drawing showing:
- Radiator width, height and projection from the wall.
- Bracket positions and fixing centres.
- Valve and pipe connection locations.
- Floor, skirting board and window dimensions.
- Required access for bleeding, servicing and cleaning.
This is particularly important for vertical radiators, where small alignment errors are highly visible.
8. Forgetting Bleeding, Balancing and Commissioning
Installation is not complete when the radiator is physically attached to the wall. Air trapped inside the radiator can create cold areas and noise. Poor system balancing can cause some radiators to overheat while others receive insufficient flow.
After filling or reconnecting the system, the radiator should be checked for leaks, correctly vented and brought into service according to the heating system requirements. The installer should also confirm that the valves operate correctly and that the radiator heats evenly.
Do not judge performance immediately after switching the heating on. Allow the system to reach normal operating conditions, then check the radiator and room temperature. A cold area at the top often indicates trapped air, while uneven performance across several radiators may indicate a flow or balancing issue rather than a faulty decorative radiator.
9. Choosing a Finish Without Considering the Room Environment
The finish should suit the room’s conditions as well as its colour palette. Bathrooms, utility rooms and other humid spaces require finishes and materials suitable for moisture exposure. Cleaning products, condensation and poor ventilation can affect the long-term appearance of some surfaces.
Stainless steel 304 is an austenitic stainless steel that contains chromium and nickel, with a composition designed to provide good corrosion resistance and durability in many indoor environments. It is not completely immune to corrosion, particularly where it is exposed to chlorides, harsh chemicals, stagnant moisture or poor cleaning practices. For normal interior applications, including many bathroom settings, it is a reliable and attractive material when correctly manufactured, finished and maintained.
When buying, ask whether the stated material applies to the visible radiator body, the internal components or only selected parts. Also check the cleaning recommendations and whether the finish is painted, polished, brushed or plated.
Practical Buying Guidance Before Decorative Radiator Installation
A successful result begins with choosing a radiator that suits the room and the heating system. Use this checklist before purchase:
- Measure the available wall: Record width, height, skirting board depth, window position and furniture clearances.
- Calculate the required output: Use a heat-loss calculation rather than selecting by appearance alone.
- Confirm system compatibility: Check operating temperatures, connection requirements and suitability for the existing heat source.
- Review mounting information: Confirm filled weight, bracket type and wall-support requirements.
- Plan the pipework: Decide whether pipes will be concealed, surface-mounted or treated as part of the design.
- Select practical valves: Match the connection type, orientation and finish without compromising access.
- Check the finish: Choose a material and coating suitable for the room’s humidity and cleaning routine.
A designer radiator should be considered as part of the complete interior and heating system. The right model is not necessarily the largest, most unusual or most expensive option. It is the one that provides suitable output, fits the available space, can be securely mounted and remains visually balanced after valves and pipework are installed.
Frequently Asked Questions
Where is the best place to install a decorative radiator?
The best location depends on room heat loss, airflow, furniture and pipe access. External walls and areas near windows may be suitable, but the radiator must remain clear and should be positioned where warm air can circulate throughout the room.
How much clearance should a decorative radiator have?
There is no universal clearance for every model. Follow the manufacturer’s installation instructions and allow adequate space below, behind and above the radiator for airflow, cleaning, valve access and safe operation.
Can I place furniture in front of a designer radiator?
It is best to avoid doing so. Large furniture can trap warm air and reduce effective heat transfer. If furniture must be nearby, maintain an open path for air to rise and move into the room.
Can a decorative radiator be mounted on plasterboard?
It may be possible, but only with a suitable structural fixing method and adequate reinforcement. The filled radiator weight and the wall’s construction must be assessed before installation. Standard general-purpose plugs are not automatically suitable.
Why is my new decorative radiator not heating evenly?
Possible causes include trapped air, insufficient flow, incorrect balancing, a valve problem or an unsuitable system temperature. Bleed the radiator only where appropriate and have the system checked if uneven heating continues.
Does a larger radiator always produce more heat?
Not necessarily. Output depends on design, dimensions, water temperature, flow and test conditions. Compare verified output figures under the same conditions and match the radiator to the room’s calculated heat requirement.
Conclusion
The appearance of a decorative radiator is only one part of a successful installation. Correct placement, airflow, wall support, pipework, clearances, valves and heat-output planning all matter. By resolving these details before installation, you can protect the radiator’s performance and ensure that its design enhances the room rather than becoming an expensive visual compromise.
Contact Us
For product information and help choosing the right solution, contact Isti Radiator.